The Packet Control Panel is an array of buttons which control important Packet operations. The following controls are available:
Spot Count:
This button counts all entries of the Packet Database which fulfill the applied filter rule. If BASIC is activated all spots will be counted. This will always yield the maximum number of available spots. All other categories will in general contain smaller numbers of entries.
Re - Init TNC:
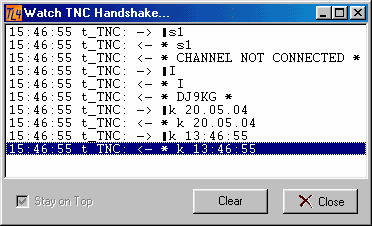
This button should only be pressed in case the TNC initialisation failed. If watch handshake is enabled the TNC will soon respond and the following window opens:

Figure 244: Watch TNC Handshake
The content is the data exchange for TNC initialisation solely as outlined in the paragraph on the cluster connect procedure.
TNC Terminal:
This button opens the TNC Terminal window for communication to the TNC.
Packet Alarms:
Packet Alarms turns the Alarms facility on or off.
Voice:
The Voice button turns the Voice alerts on or off.
CW:
This button enables or disables CW Alerts.
Grab Spot:
Pressing the Grab button will transfer the latest or highlighted spot into the call field of the main logging screen and QSY the rig to the spot's frequency and set mode according to the band plan defined in Bands & Modes.
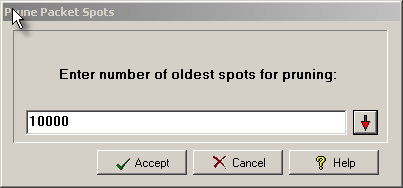
Besides other facilities to delete spots pressing the Prune button will allow you to delete a large quantity of oldest spots in the packet database in just one action. This operation should always be carried out while the Basic packet screen is on display. If a filter is active only spots which are contained in this filtered table will be pruned for their oldest content. You are prompted to select the number of spots in the following frame:

Figure 245: Pruning prompt
You can either enter a number manually or select from the drop down box which opens on pressing the red arrow button. Press Accept to start pruning or Cancel to abort the operation. Pressing the Help button opens this help topic.
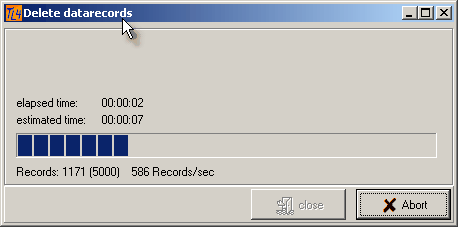
Another frame will pop up with progress bar and elapsed time informations. It automatically closes after pruning is completed.However, you could still press the Abort button in order to stop the process as long as the frame is displayed:

Figure 246: Pruning progress prompt
Help:
Brings up the Help topic for the Packet Screen.
Close:
This button closes the Packet Screen.
This topic was last edited on Thursday, 12-Dec-2024, at 13:30
